 Save to Pinterest
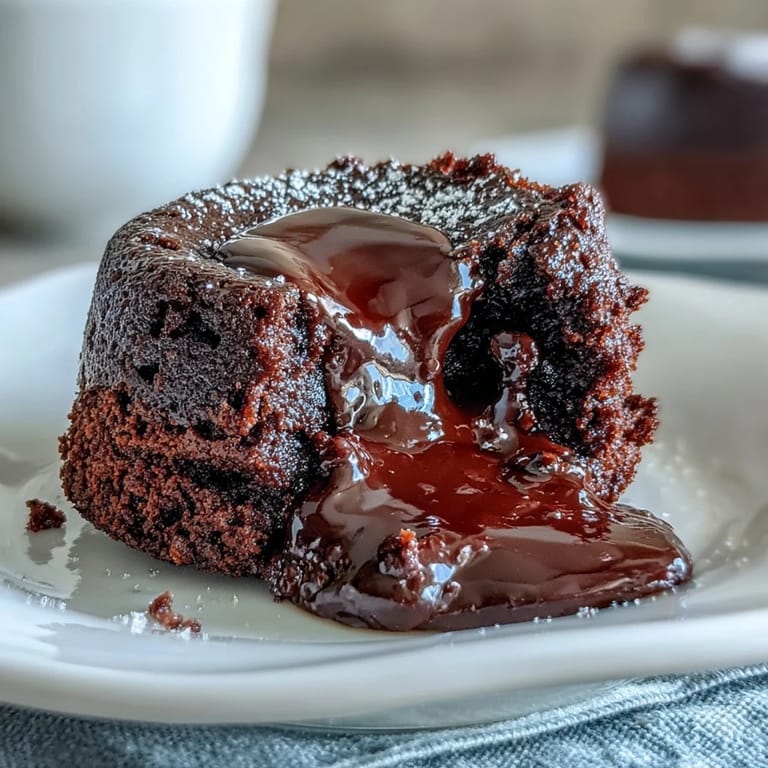
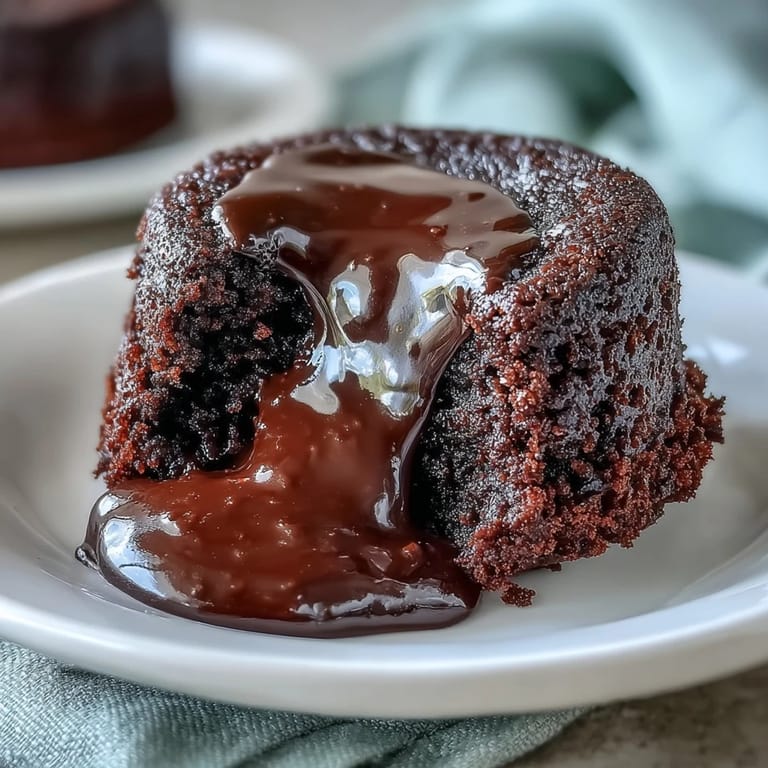
 The steam from the ramekins fogged up my glasses as I pulled them from the oven, heart racing because I'd never actually nailed the timing before. My sister was visiting with her new boyfriend, and I'd promised something impressive. When I inverted the first cake onto a plate and watched that glossy center spill out, I actually gasped. The espresso had been a last-minute addition, something I'd read about that morning, and it turned what could have been just another chocolate dessert into something that made everyone go quiet for a moment.
I've made these for birthdays, anniversaries, and one particularly stressful Tuesday when I just needed to prove to myself I could still do something right. My brother once ate two in a row and declared it the best decision he'd made all year. The trick is that they look fancy and taste indulgent, but the actual work is straightforward enough that you can pull it off even when you're a little nervous.
Ingredients
- Bittersweet or semisweet chocolate (115 g): This is the soul of the cake, so use something you'd actually enjoy eating on its own; cheap chocolate tastes flat and waxy once baked.
- Unsalted butter (115 g): It melts into the chocolate to create that silky, flowing center, and unsalted lets you control the saltiness.
- Eggs (2 large) and egg yolks (2 large): The extra yolks make the batter richer and help create that molten texture; I once used only whole eggs and the centers set too firm.
- Granulated sugar (100 g): Just enough sweetness to balance the bittersweet chocolate without making it cloying.
- All-purpose flour (30 g): A small amount gives structure without turning this into a regular cake; measure carefully or it'll be too dense.
- Instant espresso powder (1 tsp): This is the secret that makes people ask what makes your chocolate taste so deep and complex.
- Pure vanilla extract (1 tsp): Rounds out all the flavors and adds a subtle warmth you'll miss if you skip it.
- Pinch of salt: Brightens the chocolate and makes every other flavor more vivid.
Tired of Takeout? 🥡
Get 10 meals you can make faster than delivery arrives. Seriously.
One email. No spam. Unsubscribe anytime.
Instructions
- Prepare Your Ramekins:
- Preheat the oven to 220°C (425°F) and generously butter four 170 ml ramekins, then dust them with cocoa powder and tap out the excess. This coating is your insurance policy against cakes that stick and break when you try to invert them.
- Melt the Chocolate and Butter:
- Set a heatproof bowl over a pan of barely simmering water and add the chopped chocolate and butter, stirring slowly until they melt into a glossy pool. Let it cool for a few minutes so it doesn't scramble the eggs later.
- Whisk the Eggs and Sugar:
- In another bowl, whisk the eggs, egg yolks, and sugar vigorously for 2 to 3 minutes until the mixture turns pale and thick like ribbons. This step adds air and body, so don't rush it.
- Add Espresso and Vanilla:
- Stir the espresso powder and vanilla extract into the slightly cooled chocolate mixture until fully dissolved. The espresso will bloom and release its aroma as it warms.
- Combine Chocolate and Eggs:
- Gently fold the chocolate mixture into the egg mixture using a spatula, cutting down through the center and sweeping up the sides. You want to keep as much air in the batter as possible.
- Fold in Flour and Salt:
- Sift the flour and salt over the batter and fold just until no streaks remain, being careful not to overmix. Overworking it will make the cakes dense and lose that delicate molten center.
- Fill and Bake:
- Divide the batter evenly among the prepared ramekins, place them on a baking sheet, and bake for 11 to 13 minutes until the edges are set but the centers jiggle slightly when nudged. The timing is crucial here, so watch them closely after 10 minutes.
- Invert and Serve:
- Let the cakes rest for 1 minute, then run a thin knife around the edges and confidently invert each ramekin onto a dessert plate. Serve immediately while the centers are still molten and flowing.
 Save to Pinterest
 The first time I served these to my parents, my dad, who usually just nods politely at dessert, actually paused mid-bite and said it tasted like something from a restaurant. My mom later asked for the recipe three times because she didn't believe it was that simple. It's become the dessert I make when I want to feel capable and generous at the same time.
Choosing Your Chocolate
I've tested this with everything from fancy single-origin bars to supermarket baking chocolate, and the difference is noticeable. Bittersweet chocolate with around 60 to 70 percent cacao gives you a deep, sophisticated flavor without being too intense. Semisweet works beautifully if you prefer something a little sweeter and more approachable. Avoid milk chocolate; it's too sweet and the centers won't have that rich, almost fudgy quality you're after.
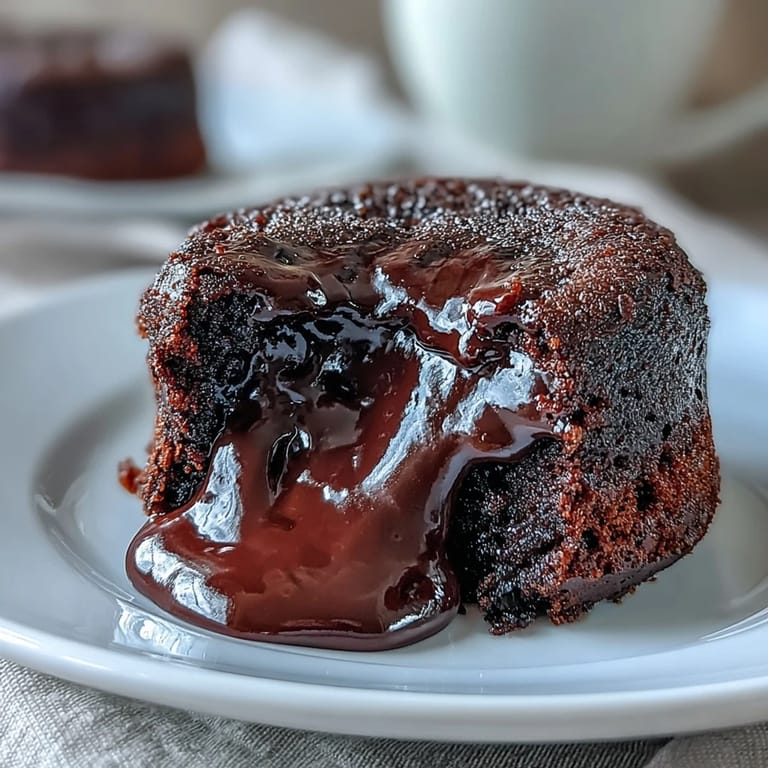
Timing and Texture
The magic of lava cakes lives in that narrow window where the edges are firm enough to hold their shape but the centers are still liquid. I use the jiggle test, gently shaking the baking sheet to see if the centers wobble like pudding. If they're completely solid, you've baked them a minute too long. If they're still sloshing around, give them another minute. Every oven is slightly different, so the first time you make these, peek at 11 minutes and trust what you see.
Serving and Pairing Ideas
These cakes are stunning on their own, but a scoop of cold vanilla ice cream melting into the warm chocolate is almost unfairly good. Whipped cream works too, especially if you add a splash of bourbon or a scraping of vanilla bean. Fresh raspberries or a few flakes of sea salt on top add contrast and make the presentation feel more intentional.
- Dust the plates with powdered sugar or cocoa before inverting the cakes for a elegant look.
- A small sprig of mint adds color and a tiny hint of freshness that cuts through the richness.
- Serve with espresso or a dessert wine; the flavors echo and amplify each other beautifully.
 Save to Pinterest
 There's something about cracking into a dessert and watching it spill out that feels like a small celebration, no matter the occasion. I hope these bring you as much quiet joy as they've brought me.
Recipe FAQs
- → How do I know when the lava cakes are done?
The edges should be firm and set while the center remains soft and jiggly. This typically takes 11-13 minutes at 425°F. The cakes will continue cooking slightly after removal from the oven.
- → Can I make the batter ahead of time?
Yes, you can prepare the batter up to 4 hours in advance and refrigerate it in the ramekins. Bring to room temperature for about 20 minutes before baking, or add 1-2 minutes to the baking time if baking from cold.
- → What type of chocolate works best?
Use high-quality bittersweet or semisweet chocolate with 60-70% cacao content. The chocolate quality directly affects the final taste, so choose a brand you enjoy eating on its own.
- → Can I skip the espresso powder?
Yes, though the espresso enhances the chocolate flavor without making it taste like coffee. If omitted, you'll still have delicious molten cakes, just with a slightly less complex flavor profile.
- → How do I prevent the cakes from sticking?
Thoroughly butter the ramekins and dust with cocoa powder, tapping out excess. This creates a non-stick coating. Running a knife around the edges before inverting also helps release the cakes cleanly.
- → What can I serve with lava cakes?
Vanilla ice cream, whipped cream, fresh berries, or raspberry coulis pair beautifully. The cold ice cream contrasts wonderfully with the warm, flowing chocolate center.