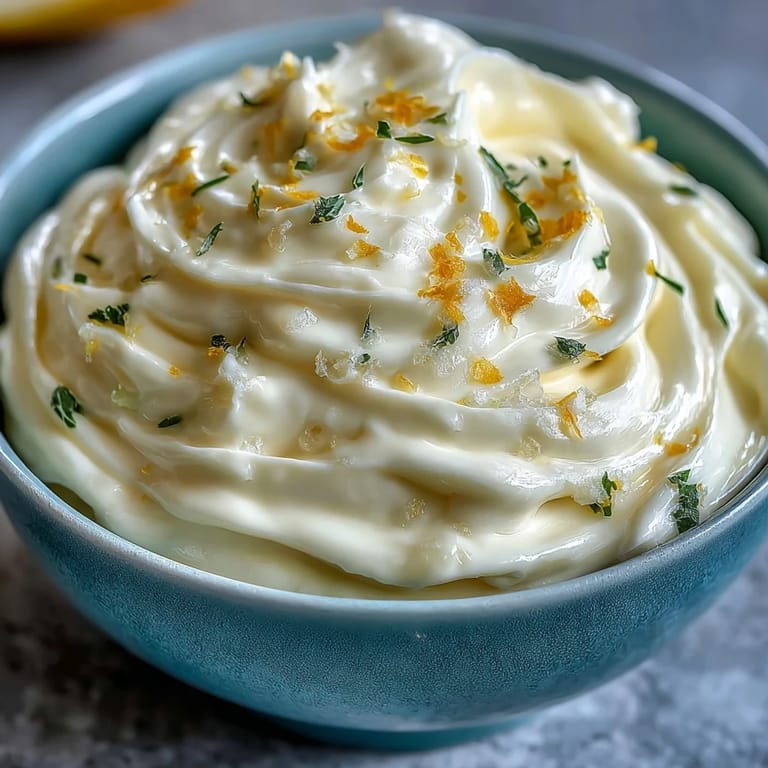
 Save to Pinterest
 The first time I made garlic aioli from scratch, the sound of the whisk tapping against my mixing bowl caught my roommate's attention in the kitchen. That gentle rhythm, punctuated with bursts of garlicky aroma, made the process surprisingly meditative. I remember wondering if my arm would get tired before the sauce came together. When the glossy aioli finally thickened, it felt like I'd conjured up something luxurious with just a few humble ingredients. No store-bought jar could ever smell as fresh, especially when the garlic hit the lemon juice just right.
Last summer, I whipped up a batch for a backyard gathering, and it quickly became the star of the snack table. Someone dipped a grilled zucchini slice, then declared it the best condiment of the day. Watching friends scoop out creamy dollops for their fries, all the laughter swirling around, I realized that a homemade sauce can really tie a meal together. Even the skeptical cousin, who usually avoids garlic, kept sneaking tastes. Ever since, garlic aioli has become my trusted party trick.
Ingredients
- Egg yolk: Room temperature yolk is vital for smooth emulsification—cold eggs can thwart the process and leave you with a broken sauce.
- Dijon mustard: Mustard helps bond the oil and egg, lending a gentle heat and extra stability (I learned the hard way skipping this makes it tricky).
- Fresh lemon juice: For bright, tangy flavor and a subtle acidity that cuts through garlic; squeeze it fresh for best results.
- Neutral oil: Sunflower or canola ensures the flavors shine—avoid strong oils like olive or coconut, which will overpower the aioli.
- Garlic cloves: Finely minced or grated for a strong, savory punch; adjust the amount if you prefer it mild, and use fresh for the most fragrant result.
- Sea salt: Just the right texture keeps the aioli balanced—use a pinch at first, and add more if needed.
- Black pepper: Freshly ground lifts the taste and gives a sharp finish; add sparingly and taste as you go.
Tired of Takeout? 🥡
Get 10 meals you can make faster than delivery arrives. Seriously.
One email. No spam. Unsubscribe anytime.
Instructions
- Start the Base:
- Whisk egg yolk, Dijon mustard, and lemon juice together in a medium bowl until creamy and slightly thickened. The mixture will change color and become silky—let yourself enjoy the transformation.
- Add the Oil Slowly:
- Begin with just a drop or two of oil at a time, whisking constantly; when you see it start to blend smoothly, you can pour in oil in a steady, thin stream while keeping up a lively whisk. You’ll notice the bowl getting heavier and the aioli becoming glossy.
- Incorporate Flavorings:
- Once the oil is fully combined and the sauce is thick, gently stir in the garlic, sea salt, and black pepper. Take a moment to inhale the aroma—garlic and lemon together always make magic.
- Adjust and Finish:
- Taste your aioli and tweak lemon juice or seasonings as desired; a little extra tang can make it sing. Transfer to a small jar, cover, and let it chill in the fridge for at least 30 minutes for best texture.
- Store and Serve:
- Use within 3 days—spread on sandwiches, serve as a dip, or spoon onto roasted veggies. It’s best served cold and creamy, straight from the refrigerator.
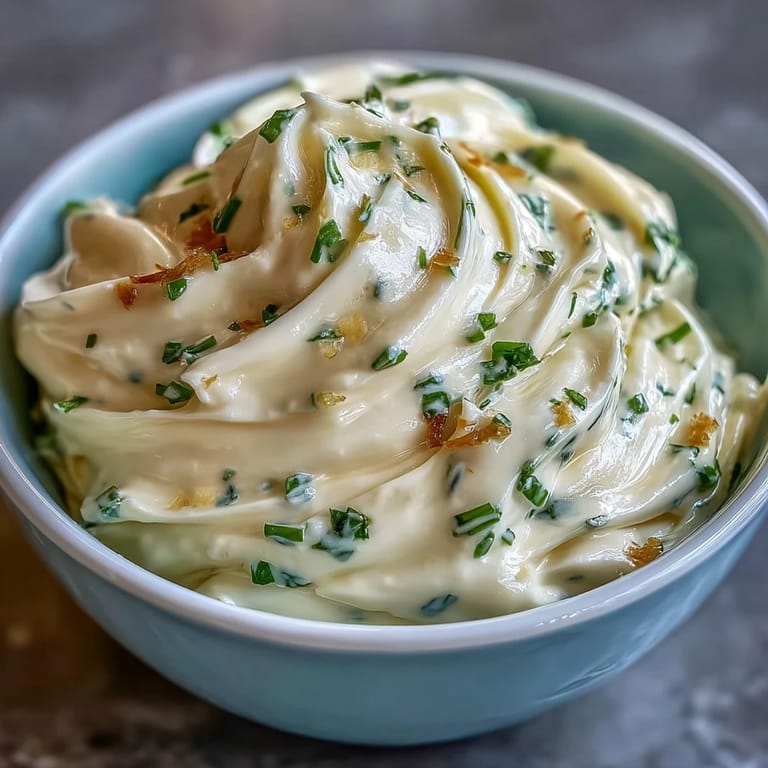 Save to Pinterest
 Coming home after a long day, making aioli with my hands felt like a gentle ritual. The kitchen filled with a citrusy-garlic breeze, and as I dipped a spoon in to taste, I realized this simple sauce could turn even plain potato wedges into something special. Moments like this remind me that homemade food isn’t just about flavor—it helps reset your senses after a chaotic day.
What Makes Homemade Aioli Stand Out
There’s a unique confidence that comes when you watch a sauce go from liquid to creamy with nothing but a whisk. Getting the texture right feels like a small kitchen victory each time. I started with store-bought mayonnaise as a shortcut but always ended up missing the depth of flavor from fresh garlic. The homemade version feels more fragrant, and it’s softer—not harsh or sharp like some pre-made jars.
Simple Variations to Try
If you want a milder flavor, swap in roasted garlic—it brings a sweet, mellow vibe that’s perfect for dipping. Sometimes I sprinkle in a pinch of smoked paprika for a smoky undertone, or chopped herbs for color and freshness. For vegan friends, aquafaba and extra mustard do the trick, making this adaptable for any gathering.
Making Aioli Your Own: Topping and Pairing Ideas
My absolute favorite is pairing this with crisp fries, but it’s lovely spread on toasted sourdough or dolloped onto grilled fish as well. A quick swirl makes a salad dressing, and friends always comment on how it upgrades roasted veggies. It’s a chameleon in the kitchen, ready for anything.
- Let it chill fully in the fridge before serving—it thickens and flavors meld beautifully.
- If it breaks, whisk in an extra yolk or teaspoon mustard to rescue it.
- Try adding fresh herbs or lemon zest for a quick flavor boost.
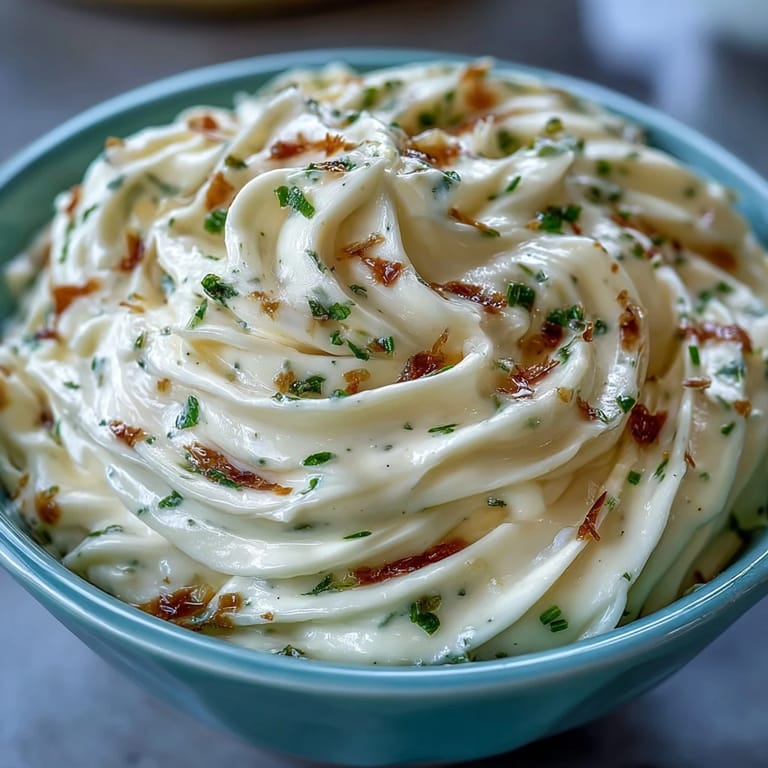 Save to Pinterest
 Nourishing and versatile, homemade garlic aioli feels like a treat every time. You’ll wonder why you ever settled for anything less.
Recipe FAQs
- → How do you achieve a creamy texture?
Slowly whisk oil into the egg, mustard, and lemon mix, allowing it to emulsify for a thick, glossy result.
- → Can I use roasted garlic instead of raw?
Yes, roasted garlic offers a milder, sweeter flavor and blends smoothly into the aioli base.
- → Is there a vegan alternative?
Swap egg yolk for aquafaba and slightly increase mustard. The texture remains creamy and rich.
- → What oil works best for aioli?
Neutral oils, like sunflower or canola, let the garlic flavor shine without overpowering the sauce.
- → How can aioli be used?
Enjoy it as a dip for fries, vegetables, or seafood, and as a spread for sandwiches or burgers.
- → How long can the aioli last in the fridge?
It stays fresh for up to three days if stored in a covered container in the refrigerator.