 Save to Pinterest
 My kids' soccer coach texted me one Saturday morning asking if I could bring halftime snacks for the team. I stood in my kitchen at 7 AM, staring at my pantry, knowing I needed something that would actually stick with hungry twelve-year-olds—not just disappear in thirty seconds. That's when I remembered these energy balls, the ones I'd thrown together months ago as a desperate study snack, and how they'd somehow become legendary in our house. One batch, fifteen minutes, and zero baking required felt like the universe handing me a solution on a silver platter.
I'll never forget watching one of my daughter's teammates bite into an energy ball during halftime and immediately ask for three more. His mom pulled me aside later that week asking for the recipe, which felt like the highest compliment I could get. Now they show up at every tournament and practice, and I've lost count of how many variations I've been asked to make.
Ingredients
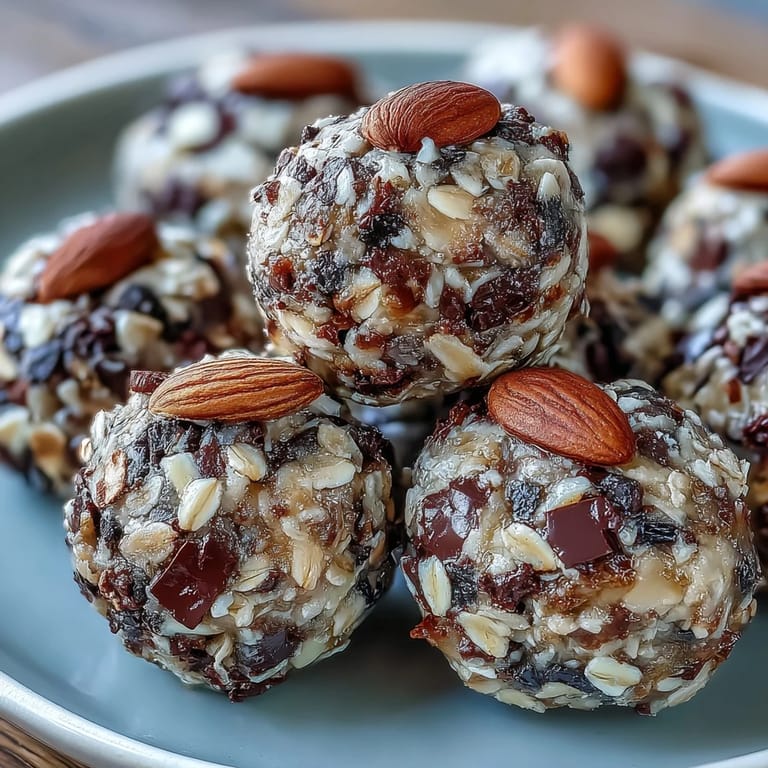
- Old-fashioned rolled oats: These hold everything together while keeping the texture chewy rather than crumbly, and they're the backbone of any proper energy ball worth making.
- Creamy peanut butter: The binding agent that makes these stick without needing eggs or butter, and it delivers that rich, familiar flavor everyone gravitates toward.
- Honey or maple syrup: Choose based on what you have on hand, though I've learned honey gives a slightly firmer ball while maple syrup creates something more tender.
- Mini chocolate chips: They melt slightly when your hands warm the mixture, creating little pockets of richness throughout.
- Shredded unsweetened coconut: Optional but worth it if you like subtle texture variation and a hint of tropical notes.
- Vanilla extract and salt: These seem small but they round out all the flavors and prevent the balls from tasting one-dimensional.
Tired of Takeout? 🥡
Get 10 meals you can make faster than delivery arrives. Seriously.
One email. No spam. Unsubscribe anytime.
Instructions
- Combine Your Dry Ingredients:
- Dump the oats, chocolate chips, and coconut into a large bowl and give them a good stir. You're essentially building the framework for everything that comes next.
- Mix the Wet Mixture:
- In a separate bowl, blend the peanut butter, honey, vanilla, and salt until it looks almost glossy and smooth. This takes about a minute of stirring and makes all the difference when you combine everything.
- Bring It All Together:
- Pour the wet mixture over the dry ingredients and start mixing with your hands or a sturdy spoon, breaking up any clumps as you go. The mixture will look shaggy at first, but keep going until every oat is coated.
- Roll Into Balls:
- Use your hands or a small cookie scoop to form the mixture into roughly 1-inch balls, working quickly so the mixture doesn't dry out. Don't stress about perfect spheres—slightly irregular shapes actually look more homemade and charming.
- Chill and Set:
- Arrange the balls on a parchment-lined tray and refrigerate for at least thirty minutes until they've firmed up enough to handle. This step matters more than you'd think because it gives them structure for storage.
 Save to Pinterest
 There's something quietly magical about feeding a group of kids something you made yourself with your own two hands. After that first tournament, parents started mentioning how their kids had more sustained energy during the second half of games, and suddenly these little balls became more than just a snack—they became part of our game day ritual.
Storage and Shelf Life
I keep mine in an airtight container in the refrigerator where they'll stay fresh and firm for about a week. If you want to make a bigger batch for the month ahead, you can actually freeze them individually on a tray first, then transfer to a freezer bag where they'll keep for several weeks—just let them thaw for five minutes before eating.
Make It Your Own
These balls are honestly a canvas, and I've experimented enough times to know what works and what doesn't. Swap the peanut butter for almond butter or sunflower seed butter if you're dealing with allergies, use dark chocolate chunks instead of mini chips if you want something more sophisticated, or toss in a handful of chia seeds or dried cranberries for different nutrition profiles. Once you nail the basic ratio, you can't really mess it up.
Perfect For and Beyond
I bring these to soccer games, tennis matches, hiking trips, and honestly just keep them in the fridge for the 3 PM energy crash that hits everyone in my house. They pair beautifully with fresh strawberries, a glass of cold milk, or Greek yogurt if you want to turn a snack into something more substantial. They also work as an emergency gift when someone unexpected shows up at your door, because homemade always feels special.
- Make them bite-sized if they're heading to practice or a game where smaller portions make sense.
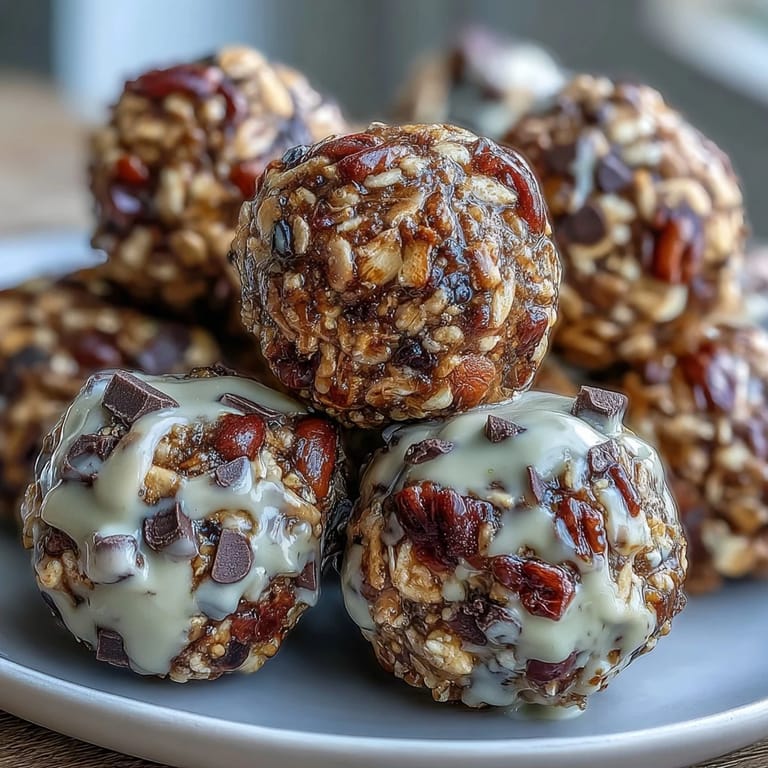
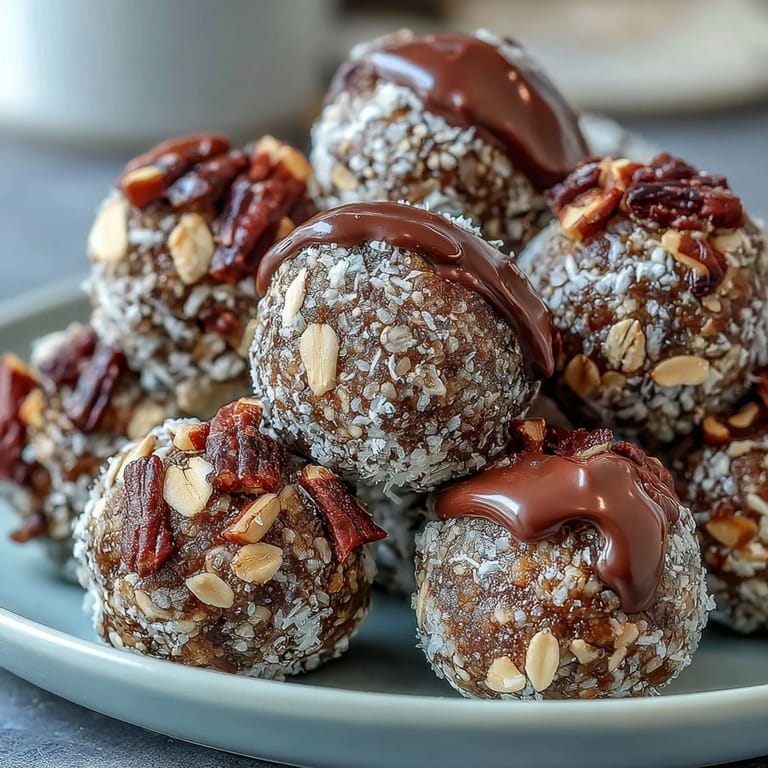
- Roll them in melted chocolate or shredded coconut after chilling if you're feeling fancy and have five extra minutes.
- Keep a container at work or in your gym bag so you always have something real to eat when hunger strikes.
 Save to Pinterest
 These energy balls have become the kind of recipe that saves the day over and over, whether you're rushing out the door or planning ahead. There's real power in something so simple that tastes this good and actually fuels people properly.
Recipe FAQs
- → Can I make these without nuts?
Yes, sunflower seed butter is a great substitute that keeps the texture creamy while avoiding nuts.
- → How long do these bites stay fresh?
Stored in an airtight container in the refrigerator, they remain fresh for up to one week.
- → Are there alternatives to chocolate chips?
You can swap mini chocolate chips for dark chocolate chunks or raisins depending on your preference.
- → What is the best way to mix the ingredients?
Combine dry ingredients in one bowl and wet ingredients in another, then stir them together until well blended.
- → Can I add extra nutrition to these bites?
Adding chia or flax seeds is a simple way to boost fiber and omega-3 content.